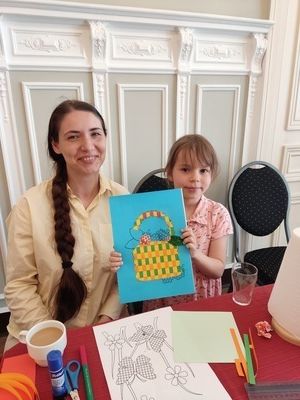
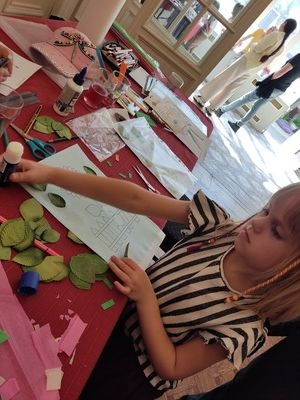
Recently, in the Children’s Club, a workshop on making appliques using the simple weaving technique took place.
At first glance, it seems quite easy, especially since the templates were prepared in advance.
But as it turned out, it’s not that easy to weave thin paper strips evenly. The applique requires perseverance, creativity, and imagination from its creator.
But let’s go step by step.
First, we create a base to which we will attach our carpet or carpets. That’s right. One applique can have multiple carpets, just like in this picture with sunflowers.
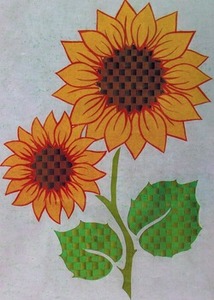
Next, you create the front side of the applique. To do this, you need to cut out the area along the outline from where the carpet will peek out.
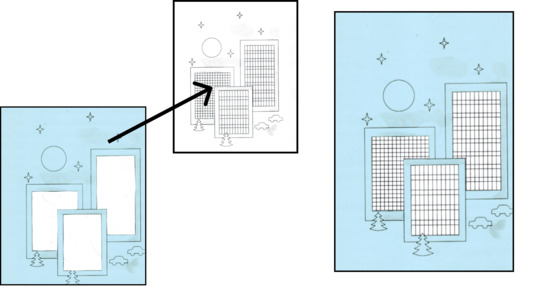
The next step is the actual weaving. You can take the simple approach where vertical strips are one color and horizontal strips are another color.
But our little masters decided that this path was too easy for them.
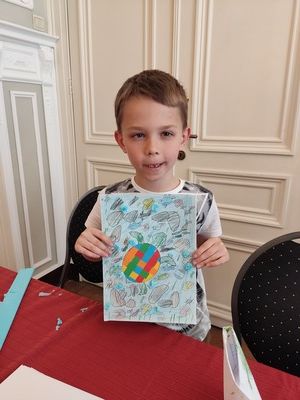
Artem managed to create such a colorful weaving.
The carpets were marked on the base. The front part of the applique was glued on top. But that’s not all. Now it’s time to decorate the face of the picture. As you can see, Artem drew and colored it.
Masha and Alice decided to attach some additional details.
After the work of all the participants, a sweet table was waiting for them.


